This comprehensive guide details the installation process for the VISTA-128BPT security system, covering everything from initial setup to advanced programming techniques.
It provides detailed instructions for installers and technicians, ensuring a smooth and efficient installation experience, maximizing system performance and reliability;
Welcome to the VISTA-128BPT Installation Guide. This document serves as a detailed resource for qualified professionals undertaking the installation and configuration of this advanced security system. The VISTA-128BPT is a sophisticated, expandable control panel designed to provide robust protection for residential and commercial properties.
This guide assumes a foundational understanding of security system principles and low-voltage wiring practices. It’s crucial to carefully review all sections before commencing installation. Proper installation is paramount for optimal system performance and reliability, ensuring the safety and security of the protected premises.
Throughout this manual, you’ll find step-by-step instructions, diagrams, and troubleshooting tips to assist you. Adherence to these guidelines will contribute to a successful installation and a satisfied customer. Remember to always consult local codes and regulations during the installation process.
Overview of the VISTA-128BPT System
The VISTA-128BPT is a powerful, expandable control panel capable of supporting up to 128 zones, making it suitable for a wide range of applications, from small homes to large commercial buildings. It features a flexible partitioning scheme, allowing for independent control of different areas within a protected property.
This system offers a variety of communication options, including telephone lines, internet connectivity, and cellular modules, ensuring reliable alarm reporting. The VISTA-128BPT supports a diverse range of sensors and devices, providing comprehensive protection against intrusion, fire, and other hazards.
Its advanced programming capabilities allow for customization to meet specific security needs. The system’s architecture is designed for ease of installation and maintenance, streamlining the process for security professionals. It’s a robust and versatile solution for modern security demands.
Key Features and Benefits
The VISTA-128BPT boasts an impressive array of features, including extensive zone capacity, supporting up to 128 wireless and wired zones for comprehensive coverage. Its flexible partitioning allows independent arming and disarming of different areas, enhancing security and convenience.
Multiple communication options – telephone, internet, and cellular – ensure reliable alarm transmission, even during power outages or phone line cuts. Advanced event logging provides a detailed history of system activity for analysis and troubleshooting.
User-friendly programming simplifies system setup and customization, while its scalable design accommodates future expansion. Benefits include enhanced security, reduced false alarms, and peace of mind, making it a valuable investment for any property owner. It offers a robust and reliable security solution.
System Partitioning
Partitioning divides the system into independent zones, allowing customized arming and disarming schedules, enhancing security and providing flexible control over protected areas.
Understanding Partitioning Theory
Partitioning is a fundamental concept in advanced security system design, particularly crucial for larger properties or facilities requiring granular control. Essentially, it divides the overall security system into independent, logically separated zones, known as partitions.
Each partition functions as a self-contained security system, with its own arming status, user codes, and event logs. This means that an alarm triggered in one partition doesn’t necessarily affect the status of other partitions.
This approach offers several key benefits: it allows for selective arming, enabling specific areas to be secured while others remain accessible. It also minimizes false alarms by isolating incidents to the affected partition. Furthermore, partitioning facilitates customized access control, granting different user groups permissions to specific areas.
The VISTA-128BPT system supports multiple partitions, offering scalability and flexibility to accommodate diverse security needs. Understanding this theory is vital for effective system configuration and optimal performance.
Setting Up a Partitioned System
Configuring a partitioned system on the VISTA-128BPT requires careful planning and precise programming. Begin by defining the physical boundaries of each partition, considering access control requirements and operational needs.
Utilize the system programming menu to assign zones to specific partitions. Each zone represents a discrete area or sensor, and its assignment determines which partition it belongs to. Ensure accurate zone mapping to maintain system integrity.
Next, establish unique user codes for each partition, granting authorized personnel access only to designated areas. This enhances security and accountability. Configure partition-specific entry/exit delays to optimize system responsiveness.
Thoroughly test each partition independently to verify proper arming, disarming, and alarm functionality. Document the partition configuration for future reference and maintenance. Proper setup ensures a robust and effective security solution.
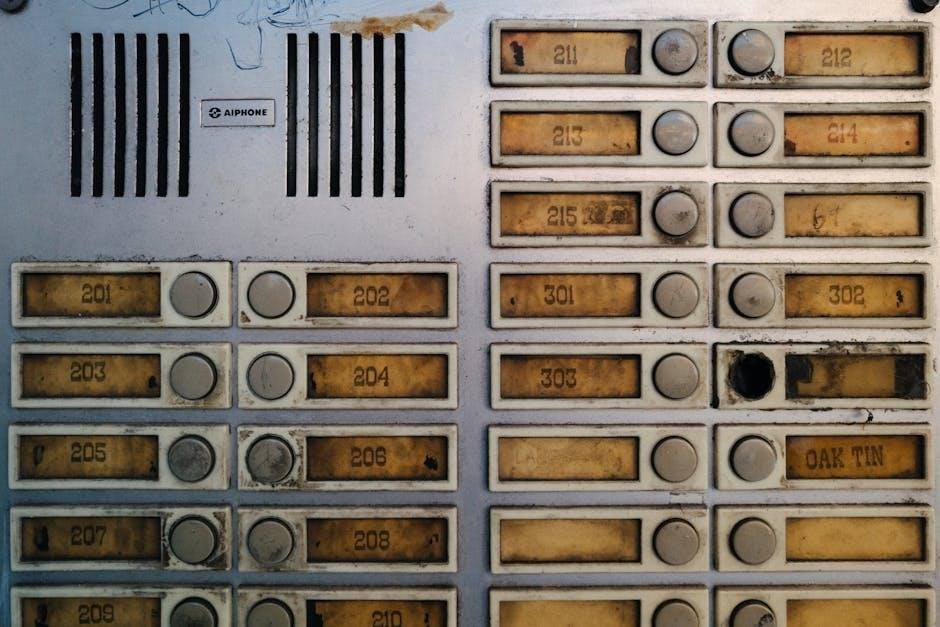
Common Lobby Logic Implementation
Implementing common lobby logic on the VISTA-128BPT streamlines access control in multi-tenant buildings. This involves configuring the system to allow shared access to common areas like lobbies while maintaining security for individual suites.
Utilize the system’s zone programming to designate the lobby area as a common zone. Assign appropriate access privileges to authorized users, enabling them to arm/disarm the lobby access points.
Configure the system to trigger alarms only when unauthorized access is detected in the lobby. This prevents false alarms caused by authorized personnel. Implement a delayed response for lobby alarms to allow for verification.
Integrate the lobby access control with the building’s intercom system for enhanced security and convenience. Thoroughly test the lobby logic to ensure seamless operation and prevent unauthorized access.
Master Keypad Configuration
The master keypad serves as the central control point for the VISTA-128BPT system, requiring careful configuration during installation. Begin by assigning a unique master code, distinct from all user codes, for administrative access.
Program the keypad’s communication settings to ensure reliable connectivity with the control panel. Configure the keypad’s display settings, including brightness and contrast, for optimal visibility.
Define the keypad’s function keys to customize system control options. Assign specific functions, such as arming/disarming partitions or accessing system logs, to each key.
Enable or disable advanced features like duress codes and panic buttons. Thoroughly test the master keypad’s functionality after configuration to verify proper operation and ensure secure system control.
Master Keypad Operation
The master keypad provides comprehensive control over the VISTA-128BPT system. Users can arm and disarm partitions using designated codes, ensuring security based on defined access levels.

Access system status information, including zone activity and alarm events, through intuitive keypad displays and navigation menus. Utilize the keypad to bypass faulty zones during arming, preventing false alarms.
Manage user codes, adding or deleting authorized users as needed. Review system logs to track events and identify potential security breaches.
Employ panic buttons for immediate emergency response, triggering alarms and notifying monitoring stations. Familiarize all users with proper keypad operation for effective system utilization and enhanced security.
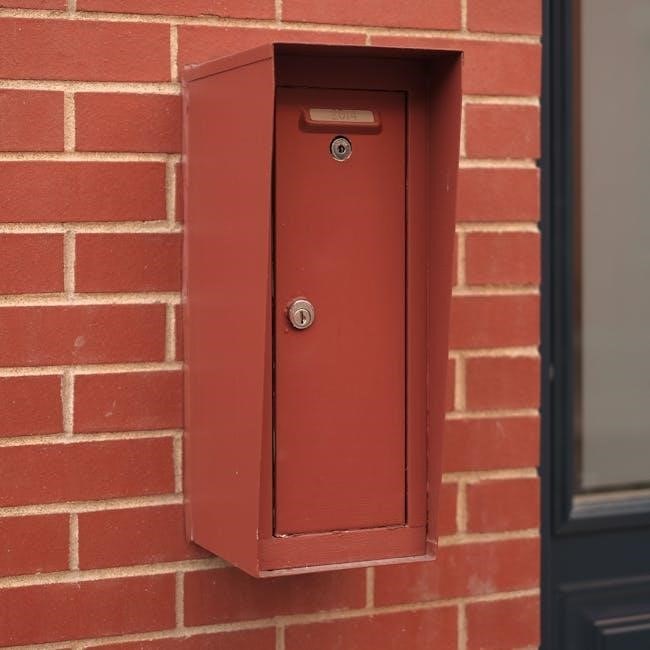
Control Panel Installation
Proper control panel installation is crucial for system functionality. This section details mounting procedures, wiring diagrams, and power supply connections for optimal performance.
Mounting the Control Panel
Selecting a suitable location is paramount for secure and reliable operation. The control panel should be mounted in a concealed, yet accessible, area to prevent tampering and facilitate maintenance. Ensure the chosen location is dry and protected from extreme temperatures or humidity, as these conditions can compromise system performance.
Utilize the provided mounting template to accurately mark the screw holes on the wall. Employ appropriate screws and anchors suitable for the wall material to ensure a firm and stable attachment. Avoid mounting the panel near sources of electromagnetic interference, such as large motors or power lines, which could disrupt communication.
Before securing the panel, verify adequate space around the unit for wiring connections and future servicing. Double-check that the mounting surface is level to prevent strain on the internal components. Once mounted, inspect the panel to confirm it is securely fastened and does not wobble or vibrate.
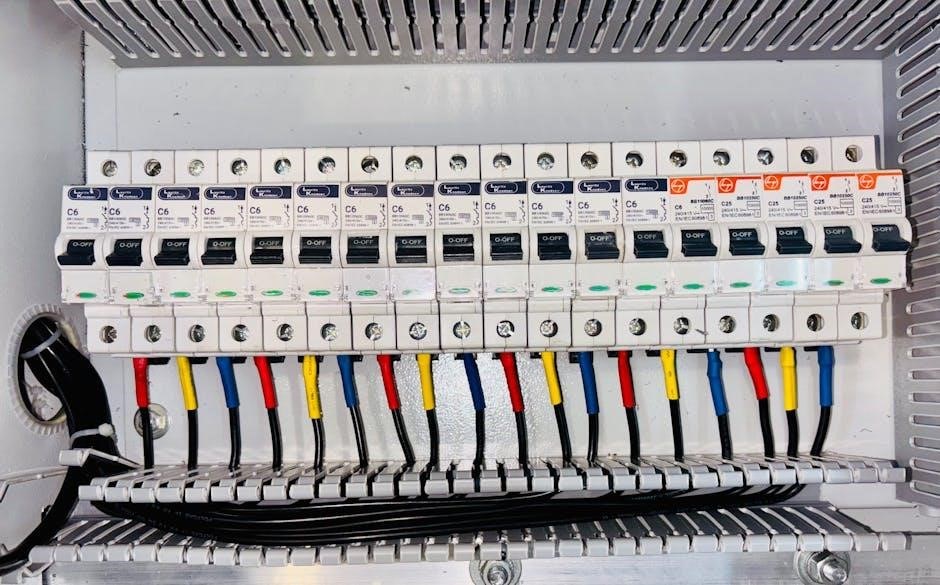
Wiring the Control Panel
Prior to commencing any wiring, ensure the power supply is completely disconnected to prevent electrical shock and potential damage to the system. Carefully identify each terminal on the control panel and correlate it with the corresponding device or sensor. Utilize appropriately sized wiring, adhering to local electrical codes and regulations, for a secure and reliable connection.
Follow the wiring diagram meticulously, paying close attention to polarity and wire routing. Securely connect each wire to the designated terminal, ensuring a tight and clean connection. Avoid loose connections or exposed wires, as these can cause intermittent operation or short circuits.
Properly label each wire for easy identification during troubleshooting and future maintenance. Bundle and organize the wiring neatly to maintain a professional appearance and prevent accidental disconnections. After completing the wiring, double-check all connections before restoring power.
Connecting the Power Supply
Before connecting the power supply, verify the correct voltage and polarity as specified on the control panel and the power supply itself. Incorrect voltage can cause irreversible damage to the system. Use a dedicated circuit for the security system to avoid interference from other appliances.
Connect the power supply wires to the designated terminals on the control panel, ensuring a secure and tight connection. Observe proper polarity – typically, black is for positive and white is for neutral. Ground the power supply appropriately to prevent electrical hazards and ensure stable operation.
Once the power supply is connected, carefully inspect the wiring for any loose connections or exposed wires. After verifying the connections, restore power to the system and confirm that the control panel powers on correctly. Monitor the system for any signs of malfunction.
Connecting the Communication Module

The communication module enables the VISTA-128BPT system to transmit alarm signals to a central monitoring station or directly to the homeowner via phone line, internet, or cellular network. Before connecting, ensure the control panel is powered off to prevent electrical shock and damage to the components.
Locate the designated communication module port on the control panel and carefully align the module connector. Gently insert the module until it clicks securely into place. Verify the connection by visually inspecting the alignment and ensuring a firm fit.
Connect the appropriate communication wiring – typically a phone line or Ethernet cable – to the module. Refer to the module’s specific installation instructions for detailed wiring diagrams. Power on the control panel and test the communication link to confirm proper functionality.

Programming the System
System programming involves configuring zones, user codes, and communication settings to tailor the VISTA-128BPT to specific security needs and preferences for optimal performance.
Initial System Programming
The initial system programming phase is crucial for establishing the foundational settings of the VISTA-128BPT control panel. This process typically begins with setting the system date and time, ensuring accurate event logging and reporting. Following this, the installer must define the system’s communication parameters, including the phone number for central station connectivity or the IP address for internet-based reporting.
Crucially, the installer will also configure the system’s language and display settings, tailoring the user interface for ease of operation. Defining the battery backup settings is also vital, guaranteeing continued operation during power outages. Furthermore, establishing the default access codes and system administrator privileges are essential security measures. Proper completion of these initial steps ensures a stable and secure foundation for subsequent programming stages, allowing for customized zone definitions and user management.
Zone Programming
Zone programming involves defining each individual sensor input on the VISTA-128BPT control panel. This includes assigning a descriptive name to each zone – such as “Front Door,” “Living Room Window,” or “Basement Motion Detector” – for easy identification during alarm events. The installer must also specify the zone type, selecting from options like instant, delay, or no entry, based on the sensor’s location and intended function.
Furthermore, configuring the zone’s supervision settings is critical, ensuring the system detects and reports any tampering or communication failures. The installer will also define the alarm response parameters for each zone, determining whether the alarm triggers an immediate dispatch or requires verification. Proper zone programming is essential for accurate alarm reporting and minimizing false alarms, contributing to a reliable and effective security system.
User Code Programming
User code programming on the VISTA-128BPT system allows authorized individuals access to arm and disarm the security panel. Each user requires a unique code, and the system supports a substantial number of individual users, offering flexibility for homes and businesses. The installer must carefully assign appropriate access levels to each user, determining which zones they can access and what functions they can perform.
Security best practices dictate avoiding easily guessable codes, such as birthdays or consecutive numbers. The system also allows for master codes with expanded privileges, used for system administration and programming changes. Regularly updating user codes is recommended to maintain security. Proper user code management is crucial for preventing unauthorized access and ensuring the system’s integrity, safeguarding the protected premises.
System Testing and Verification
Thorough system testing and verification are paramount after installing and programming the VISTA-128BPT. This process confirms all zones are correctly identified and communicating with the control panel, ensuring accurate alarm reporting. Walk-test each zone individually, triggering the alarm to verify proper signal transmission to the monitoring station, if applicable.
Verify the functionality of all entry/exit delays, ensuring sufficient time for authorized users to disarm the system. Test the system’s response to power outages, confirming the backup battery provides uninterrupted operation. Document all testing results, noting any discrepancies or issues requiring attention. A comprehensive test ensures the system operates as intended, providing reliable security and peace of mind for the end-user.
Quick Reference Chart (SIA CP-01)
The SIA CP-01 chart provides standardized alarm signal definitions, facilitating clear communication between the security system and central monitoring stations for efficient response.
Understanding the SIA CP-01 Chart
The SIA (Security Industry Association) CP-01 chart is a crucial component in modern security system installations, acting as a universal language for alarm signal transmission. It standardizes the format and meaning of alarm events, ensuring that central monitoring stations can accurately interpret signals received from diverse security panels, including the VISTA-128BPT.
Each entry within the chart corresponds to a specific alarm condition, such as burglary, fire, or medical emergency, assigning a unique code for consistent reporting. This eliminates ambiguity and reduces false alarms. Understanding the chart’s structure – including event codes, priority levels, and descriptive text – is vital for proper system configuration and troubleshooting.
Installers must familiarize themselves with the relevant codes to ensure the VISTA-128BPT transmits accurate information. Correct implementation guarantees a swift and appropriate response from emergency services, enhancing overall system effectiveness and user safety. Proper utilization of the SIA CP-01 chart is paramount for reliable security system operation.
Utilizing the Chart for Troubleshooting
When troubleshooting communication issues with the VISTA-128BPT system, the SIA CP-01 chart becomes an invaluable diagnostic tool. Discrepancies between expected and received alarm signals often point to configuration errors or wiring problems. By carefully examining the transmitted event codes against the chart, technicians can pinpoint the source of the issue.
For example, an unrecognized code suggests a programming mistake within the panel, while a consistently incorrect priority level may indicate a faulty zone definition. The chart also aids in verifying proper signal transmission to the central monitoring station, confirming that alarms are being reported accurately.
Effective troubleshooting requires a systematic approach, starting with signal verification and progressing to panel diagnostics. The SIA CP-01 chart provides the necessary framework for interpreting alarm data, leading to faster resolution times and improved system reliability, ultimately ensuring optimal security performance.