
NuWave Brio 10Q Air Fryer Manual: A Comprehensive Guide
This manual provides detailed instructions for the NuWave Brio 10Q, covering setup, operation, cooking, cleaning, and safety—ensuring optimal performance and longevity.
Welcome to the world of healthier, faster, and more convenient cooking with the NuWave Brio 10Q Air Fryer! Since 1993, NuWave has been dedicated to developing innovative houseware products focused on safety, versatility, and quality. The Brio 10Q utilizes proprietary air circulation technology, delivering even cooking, rapid preheating, and significantly reduced oil usage – up to 80% less – while maintaining a delightfully crispy texture.
This air fryer isn’t just about convenience; it’s about embracing a lifestyle that prioritizes well-being. With its 1800W power, the Brio 10Q quickly prepares your favorite meals. This manual will guide you through every step, from initial setup and operation to mastering various cooking techniques and ensuring proper maintenance. Prepare to experience a revolution in your kitchen!
What’s Included in the Box
Upon opening your NuWave Brio 10Q package, please verify that all components are present and undamaged. Your air fryer set includes the main Brio 10Q unit itself, featuring a smart digital touchscreen for precise control. You’ll also find a spacious cooking basket, designed for optimal air circulation and even cooking.
Additionally, the box contains a detailed user manual – this document! – to guide you through operation and maintenance. Expect to find recipe ideas to inspire your culinary creations. NuWave prioritizes a complete customer experience, ensuring you have everything needed to immediately enjoy healthier, delicious meals. Contact NuWave support if any items are missing or damaged.
Key Features and Benefits
The NuWave Brio 10Q Air Fryer boasts several innovative features designed for convenience and superior cooking results. Its proprietary air circulation technology ensures even cooking, faster preheating, and significantly reduced oil usage – up to 80% less! The spacious 10-quart capacity is ideal for families or meal prepping.
Enjoy precise temperature control, ranging from 100°F to 400°F, and a versatile timer function. Benefit from 100 preset cooking programs and 50 memory slots for customized recipes. NuWave’s commitment to quality delivers a safe, eco-conscious appliance that promotes a healthy lifestyle, offering crispy textures without the guilt.

Understanding the Control Panel
The intuitive control panel features a power button, temperature settings, a timer, and preset programs for effortless operation and precise cooking control.
Power Button and Indicator Light
The Power Button initiates and terminates the cooking process. A single press activates the NuWave Brio 10Q, and the Indicator Light illuminates, signifying the unit is receiving power and is ready for operation. The Indicator Light remains lit throughout the cooking cycle, providing a clear visual confirmation that the air fryer is functioning.
Should the Indicator Light begin to flash, it may signal an error or that the unit isn’t properly assembled. Refer to the troubleshooting section of this manual for specific error code interpretations. Always ensure the power button is fully engaged for consistent performance. Pressing the power button again will immediately halt the cooking process and turn off the unit.
Temperature Control Settings
The NuWave Brio 10Q features precise temperature control, ranging from 100°F to 400°F (approximately 40°C to 200°C). Use the designated temperature control buttons – typically marked with “+” and “-” symbols – to adjust the cooking temperature in 5 or 10-degree increments. The current temperature is clearly displayed on the digital control panel.
Selecting the appropriate temperature is crucial for optimal cooking results. Lower temperatures are ideal for delicate foods or reheating, while higher temperatures are best for achieving crispy textures. Always consult recipe guidelines or the recommended cooking times and temperatures chart within this manual for specific food items.
Timer Functionality
The NuWave Brio 10Q’s timer allows for precise cooking time control, ranging up to 60 minutes. Utilize the timer buttons – often labeled “Time +” and “Time -” – to set the desired cooking duration. The remaining cooking time is prominently displayed on the digital screen, providing real-time monitoring.
The air fryer will automatically shut off once the timer reaches zero, preventing overcooking. For added convenience, the timer can be paused and resumed mid-cycle. Accurate timer settings are essential for achieving perfectly cooked food, ensuring optimal texture and flavor. Refer to recipe recommendations for appropriate cooking times.
Preset Cooking Programs

The NuWave Brio 10Q features a variety of preset cooking programs designed for convenience and optimal results. These programs automatically set the temperature and time for popular dishes like chicken, fries, and vegetables. Simply select the desired preset using the corresponding button on the control panel.
The 10Q boasts up to 100 presets, offering versatility for diverse culinary creations. Users can also customize and save their own preferred settings into the 50 memory slots. Utilizing presets simplifies cooking, ensuring consistent and delicious outcomes every time. Experiment with different programs to discover your favorites!

Preparing Your NuWave Brio 10Q for First Use
Before initial use, thoroughly clean the unit and season the cooking basket to optimize performance and ensure food doesn’t stick.
Initial Cleaning Procedure
Before your first culinary adventure with the NuWave Brio 10Q, a meticulous cleaning process is essential. Begin by unplugging the air fryer and allowing it to cool completely. Remove the cooking basket and any included accessories.
Wash the basket and accessories with warm, soapy water. Avoid abrasive cleaners, as they can damage the non-stick coating. For the interior of the main unit, gently wipe down with a damp cloth. Never immerse the main unit in water or any other liquid.
Ensure all components are thoroughly dried before reassembling and using the air fryer. This initial cleaning removes any manufacturing residue and prepares the unit for optimal performance, guaranteeing delicious and safe cooking experiences.
Seasoning the Cooking Basket
While not strictly required, seasoning the cooking basket of your NuWave Brio 10Q can enhance its non-stick properties and contribute to easier food release. Apply a light coating of cooking oil – vegetable, canola, or avocado oil work well – to the basket’s surface.
Use a paper towel to spread the oil evenly, ensuring all areas are covered. Then, place the basket in the air fryer and run it on a low temperature (around 350°F or 175°C) for 10-15 minutes. This process helps the oil bond with the basket’s surface.
Allow the basket to cool completely before using it for cooking. Repeat this seasoning process periodically to maintain optimal non-stick performance.
Cooking with Your NuWave Brio 10Q
Explore versatile cooking options! This section details recommended times, temperatures, and techniques for air frying, baking, and roasting with your Brio 10Q.
Recommended Cooking Times and Temperatures
Achieving perfectly cooked meals with your NuWave Brio 10Q relies on understanding optimal cooking parameters. Generally, chicken pieces require 20-25 minutes at 375°F (190°C) for a crispy exterior and fully cooked interior. French fries benefit from 15-20 minutes at 400°F (200°C), ensuring golden-brown perfection.
Vegetables, depending on the type, typically need 10-15 minutes at 380°F (193°C). For baking, reduce the temperature to 350°F (175°C) and adjust the timer based on the recipe. Roasting larger cuts of meat may require temperatures between 325°F (163°C) and 350°F (175°C) with extended cooking times.
Remember these are guidelines; always check for doneness using a food thermometer.
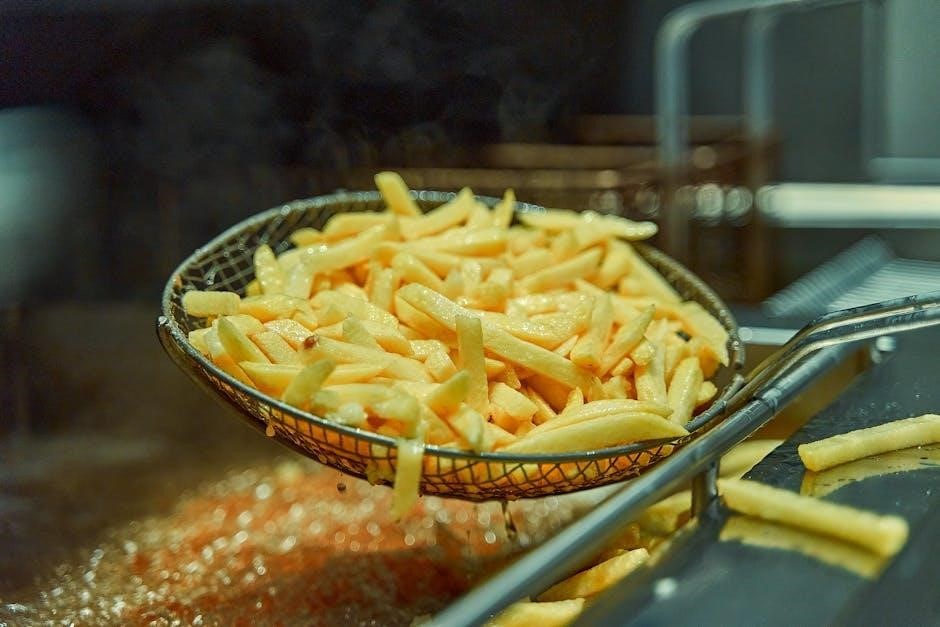
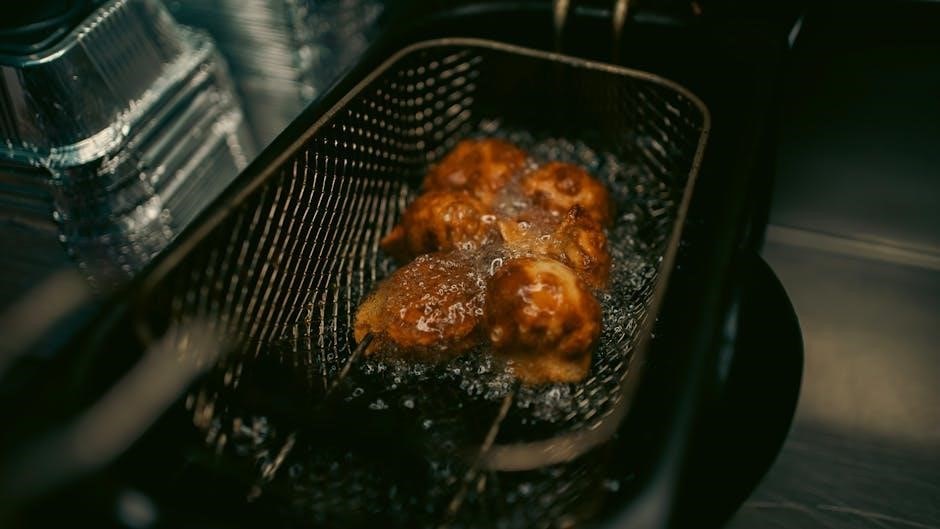
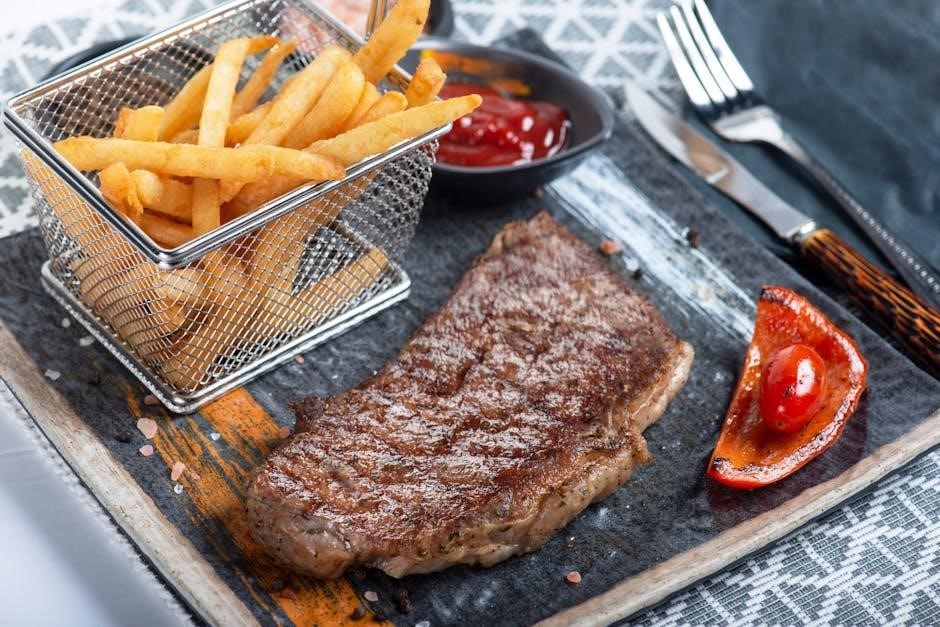
Air Frying Common Foods (Chicken, Fries, Vegetables)
The NuWave Brio 10Q excels at air frying everyday favorites! For crispy chicken, lightly coat pieces with oil and seasonings, then cook at 375°F (190°C) for 20-25 minutes, flipping halfway through. Achieve perfect fries by tossing with a small amount of oil and air frying at 400°F (200°C) for 15-20 minutes, shaking the basket occasionally.
Vegetables like broccoli and Brussels sprouts become delightfully tender-crisp when air fried at 380°F (193°C) for 10-15 minutes. Pro-tip: Don’t overcrowd the basket; work in batches for even cooking. The Brio’s rapid air circulation ensures minimal oil usage and maximum flavor!
Using the Air Fryer for Baking
The NuWave Brio 10Q isn’t just for frying; it’s a versatile baker! For cakes and muffins, use oven-safe baking pans that fit comfortably inside the basket. Reduce baking temperatures by approximately 25°F (14°C) compared to conventional oven recipes. A typical cake might bake at 325°F (163°C) for 25-30 minutes.
Cookies bake beautifully at 300°F (150°C) for 10-12 minutes. Remember to check for doneness with a toothpick! The Brio’s even heat distribution ensures consistent results. Experiment with small batches to perfect your baking times and temperatures.
Roasting with the NuWave Brio 10Q
The NuWave Brio 10Q excels at roasting smaller cuts of meat and vegetables. For chicken pieces or pork chops, preheat the air fryer to 375°F (190°C). Season your protein and place it directly in the basket, ensuring space around each piece for optimal air circulation. Roasting times will be shorter than a conventional oven – typically 20-25 minutes for chicken.
Vegetables like potatoes, carrots, and Brussels sprouts roast beautifully at 400°F (200°C) for 15-20 minutes. Toss with a little oil and seasoning before roasting; The Brio’s rapid air technology creates a crispy exterior and tender interior.

Cleaning and Maintenance
Regular cleaning ensures optimal performance and longevity of your NuWave Brio 10Q. Daily tasks and deep cleaning procedures are outlined for effortless upkeep.
Daily Cleaning Procedures
After each use, disconnect the NuWave Brio 10Q from the power outlet and allow it to cool completely. Remove the cooking basket and wipe it down with a warm, soapy cloth. For stubborn food residue, a non-abrasive sponge can be used.
The exterior of the air fryer should be wiped clean with a damp cloth. Avoid using harsh chemicals or abrasive cleaners, as they may damage the finish. Ensure no water enters the air vents. Regularly inspect and clean the heating element, removing any food particles or debris.
Proper daily maintenance extends the life of your appliance and ensures consistent cooking results.
Deep Cleaning Instructions
For a thorough clean, disconnect the NuWave Brio 10Q and allow it to cool. Remove the basket and drip pan. These components can be washed with warm, soapy water, or placed in the dishwasher if dishwasher-safe (refer to the ‘Dishwasher Safe Parts’ section).
Inspect the interior for grease buildup and wipe down with a damp cloth and mild detergent. Pay attention to the heating element, carefully removing any stuck-on food particles. Ensure all surfaces are dry before reassembling.
A deep clean should be performed monthly, or more frequently with heavy use, to maintain optimal performance.
Dishwasher Safe Parts
The NuWave Brio 10Q is designed with convenience in mind, featuring several dishwasher-safe components. Specifically, the cooking basket and the drip pan are both safe for cleaning on the top rack of your dishwasher.
However, do not place the main unit, the power cord, or any electronic components in the dishwasher. These parts require hand washing with warm, soapy water and a non-abrasive sponge.
Always ensure all parts are thoroughly dried before reassembling the air fryer. Refer to the ‘Daily Cleaning Procedures’ and ‘Deep Cleaning Instructions’ for complete care guidelines.
Safety Precautions
Always follow electrical safety guidelines, avoid overfilling the basket, and ensure proper ventilation when operating your NuWave Brio 10Q air fryer.
Electrical Safety Guidelines
To ensure safe operation of your NuWave Brio 10Q, always plug the unit into a grounded electrical outlet. Never operate the air fryer with a damaged cord or plug; if damaged, contact NuWave customer support for assistance.
Avoid using extension cords, as they can pose a safety hazard. Do not immerse the air fryer housing, cord, or plug in water or other liquids. Unplug the unit from the outlet when not in use and before cleaning.
Never touch hot surfaces; use oven mitts or handles. Keep the air fryer away from flammable materials. If the air fryer malfunctions, discontinue use immediately and contact NuWave for support.
Avoiding Overfilling the Basket
Overfilling the NuWave Brio 10Q’s cooking basket can lead to unevenly cooked food and potentially compromise the air circulation necessary for optimal crisping. Ensure food is arranged in a single layer whenever possible, allowing air to flow freely around each piece.
For larger quantities, cook in batches to maintain consistent results. Do not exceed the maximum fill line indicated within the basket. Overloading can also cause food to stick together, hindering proper cooking and potentially damaging the non-stick coating.
Proper basket capacity ensures efficient operation and delicious, perfectly cooked meals every time.
Proper Ventilation
Maintaining adequate ventilation is crucial when operating your NuWave Brio 10Q air fryer. Always position the unit on a stable, heat-resistant surface with sufficient space around all sides – at least 6 inches – to allow for proper airflow.
Avoid placing the air fryer near flammable materials like curtains or paper towels. Ensure the ventilation openings are never blocked during operation, as this can cause overheating and potentially damage the unit.
Good ventilation ensures safe and efficient operation, preventing potential hazards and maximizing the lifespan of your appliance.

Troubleshooting Common Issues
This section addresses frequent problems like heating failures, uneven cooking, and error codes, offering solutions to ensure optimal NuWave Brio 10Q performance.
Air Fryer Not Heating
If your NuWave Brio 10Q isn’t heating, first verify it’s properly plugged into a functioning electrical outlet. Ensure the power button is illuminated, indicating power is reaching the unit. Check if the timer is set correctly, as some models won’t initiate heating without a programmed time.
Inspect the heating element for any visible damage or obstructions. A faulty heating element may require professional repair or replacement. Confirm the basket is fully inserted; a safety mechanism prevents operation if not correctly positioned. If the issue persists, consult the NuWave customer support team for further assistance and potential troubleshooting steps specific to your model.
Food Not Cooking Evenly
Uneven cooking in your NuWave Brio 10Q often stems from overcrowding the basket. Ensure food is arranged in a single layer, allowing for proper air circulation. For best results, shake or flip the food halfway through the cooking process to promote even browning and crisping.
Smaller food items may require more frequent shaking. Verify the temperature setting is appropriate for the food type and quantity. Consistent air circulation is key; avoid blocking vents within the basket. If problems continue, try reducing the amount of food cooked per batch for optimal, uniformly cooked results.
Error Codes and Their Meanings
Should your NuWave Brio 10Q display an error code, consult this guide for troubleshooting. “E1” typically indicates a sensor malfunction; contact NuWave support. “E2” suggests a heating element issue, requiring professional repair. “E3” often signals a temperature sensor problem, also needing service.
A flashing “E4” means the unit hasn’t reached the set temperature, potentially due to improper placement or a power fluctuation. Resetting the device may resolve this. Always unplug the unit before attempting any troubleshooting. Refer to the full manual or NuWave’s website for a complete error code list.
NuWave Company Information
Since 1993, NuWave has focused on delivering safe, eco-conscious, versatile, and high-quality houseware products for a healthier lifestyle for all customers.
NuWave History and Product Development (Since 1993)
NuWave, LLC, established in 1993, has consistently prioritized customer satisfaction through innovative houseware solutions. Beginning with a focus on precision cooking, the company rapidly expanded its product line to encompass a diverse range of kitchen appliances.
Throughout its history, NuWave has remained dedicated to developing products that are not only versatile and high-performing but also safe and environmentally responsible. This commitment is reflected in the design and manufacturing of the Brio 10Q Air Fryer, incorporating advanced technology for efficient and healthy cooking.
NuWave’s ongoing product development is driven by a desire to enhance the everyday lives of its customers, offering solutions that simplify meal preparation and promote a healthier lifestyle.
NuWave’s Focus on Safe and Eco-Conscious Products
NuWave consistently demonstrates a strong commitment to both product safety and environmental responsibility. This dedication is integral to their design and manufacturing processes, ensuring appliances like the Brio 10Q meet rigorous standards.
The Brio 10Q’s design minimizes oil usage, promoting healthier cooking while reducing environmental impact. NuWave prioritizes durable materials and efficient energy consumption, contributing to a longer product lifespan and reduced waste.
Furthermore, NuWave actively seeks eco-conscious packaging solutions and adheres to strict safety protocols throughout production, reflecting a holistic approach to sustainability and consumer well-being.

Air Purification Technology (NuWave OxyPure)
NuWave OxyPure utilizes a six-stage filtration system, capturing dust, pollen, pet dander, smoke, and allergens with stainless steel pre-filters for cleaner air.
6-Stage Filtration System Explained
The NuWave OxyPure air purifier boasts a comprehensive 6-stage filtration system designed to eliminate a broad spectrum of airborne contaminants. Initially, rust-free stainless steel pre-filters capture larger particles like dust, pollen, smoke, and pet dander, extending the life of subsequent filters. Following this, a high-efficiency particulate air (HEPA) filter removes 99.97% of particles down to 0.3 microns, including mold spores and bacteria.
An activated carbon filter then neutralizes odors and volatile organic compounds (VOCs). A subsequent layer further refines air quality, while an ionizer helps to cluster remaining particles for easier capture. Finally, a UV-C light sanitizes the air, eliminating viruses and bacteria. This multi-layered approach ensures exceptionally clean and healthy indoor air.
Capturing Allergens: Stainless Steel Pre-Filters
NuWave OxyPure air purifiers utilize durable, rust-free stainless steel pre-filters as the first line of defense against airborne allergens. These filters are specifically engineered to capture larger particles, significantly reducing the burden on subsequent filtration stages and prolonging their lifespan. Common allergens like dust, pollen, pet dander, and visible smoke are efficiently trapped by the pre-filters.
Regular cleaning of these pre-filters is crucial for maintaining optimal performance. By removing accumulated debris, airflow isn’t restricted, and the purifier operates at peak efficiency. This simple maintenance step ensures consistently clean air and contributes to a healthier indoor environment for allergy sufferers.